Showing posts with label Accessories. Show all posts

December 24, 2014

DIY Personalized wedding dress hangers

I promise I haven't given up on my mission to share all my wedding DIY projects! However since it is admittedly taking me for ever to complete my mission, I've decided to also post about more recent wedding related projects.  Its been a few years since my wedding and since then I've attended a sinful amount of weddings, and for several of them I've had a hand in making several elements of the wedding! I guess you can say my wedding may be over, but the wedding DIY spirit in me still lives on!

Personalized wire hangers were definitely popular even when I was getting married but at the time I had a mile long list of DIY projects I was working on and so I didn't make one for myself. However since then I have seen more creative versions of the personalized hanger and so I started recommending it to other brides. Most people thought the online price plus shipping didnt seem worth it and this piqued my curiosity about them and what was really involved in making them. I recently decided to attempt to make my own wire hanger as a gift for a bride and several of our mutual friends loved it and have ordered personalized hangers of their own as gifts.

Firstly I looked online for what materials I needed to bring this project to life. The basics needed are:
Wooden shirt hangers
12 gauge floral wire
Glue
Drill or eyeglass size screwdriver
Wire cutter
Needle nose pliers
Any additional accessories or embellishments

Surprisingly enough, just finding the first thing on my list was tricky! I couldn't find shirt hangers anywhere. To be clear,  a shirt hanger is a basic wooden hanger with no bottom bar. I went to Walmart, Target, Home Goods, Marshalls, and all I could find were velvet hangers, plastic hangers, suit hangers,... basically all kinds of hangers except the one I wanted. So I nearly decided to just get my friend a different gift and scrap the idea of the personalized hanger. But for me giving up just doesn't come easy! I decided to try one last place, Bed Bath and Beyond, and to be honest I really could have saved myself a lot of time by going there first! I walked into their hanger section and I felt like I was in hanger heaven! They had every possible kind of hanger known to mankind!!!


This store carried them in packs of 5, so I decided to get one pack in dark cherry wood and one pack in white wood. Once I had the hangers, I went to Joann's and then Michael's for the wire. I happened to already have most of the other accessories and tools I needed.


I couldn't find my needle nose  pliers so decided to make do with a regular pair of pliers. To be honest I didn't really use it at all. Although it might be useful to know that if you do use a pair of pliers its best to wrap it in masking tape to prevent it from scratching the wire.

Next, I looked online for some sort of template for shaping the letters. I found this one which served as a fairly good guide. It is probably easier though, to just draw out the letters in the size you want and then use that as a template instead.  I realized later that there were several tutorial videos out there with detailed descriptions of how to shape specific letters but I was just anxious to get started so instead I pulled up several images of personalized wire hangers and paid attention to the way the letters were shaped.  Then using just my hands I started shaping the letters of the first word "Mrs". 


 Contrary to what I saw on other sites, I chose not to cut the wire until the word was completed. So I basically worked on the wire straight off the roll. The first and last letters are usually the easiest to shape out, it's the letters in the middle that can get a bit tricky. The key is to think of it, as writing the entire word in one continuous movement that requires clever looping back and forth without getting kinks in the wire. Once the wire gets kinked or too twisted it loses some of the appeal and you have to discard that piece and start over.  I found that certain letters like T and K were a lot more tricky to shape out and it took me several tries to get it.  It took a while before I started being remotely happy with the look of the letters. It takes practice to get the hang of it!

Once I finally finished shaping the letters, I had to attach it to the hanger. But before that, I wanted to add some embellishments to the hanger. I experimented with a a ribbon bow and crystals and then ultimately decided to just use their initials instead. Less is always more in my book.


Once that was done I needed to make holes in the hanger to attach the wire. It turns out my husband didn't have the right drill bit for this job and he drilled right through the hanger! I can tell you right now, I wasn't too please about that! But ultimately it actually turned out to be a blessing in disguise  because it forced me to design a new hanger and I ended up finding pretty sparkly letters shown above, which look much better than the original one! This time around  I pulled out my mini eyeglass screwdriver that I keep for my guitar battery and I manually drilled the holes in the hanger. 


It was quick and easy. Then for the first time ever,  I experimented with E6000 glue.  I've avoided this glue for years but decided to give it a try because I was worried the hot glue gun wouldn't hold up as well.. I did the gluing outside because of all the fumes and to be honest I wasn't all that impressed with this glue.   For the second hanger I made, I went back to my trusted hot glue gun!

Once I had measured the hanger and cut the wire to fit, I squeezed glue into the holes I had created and pushed the wire in! In no time I had my very own handmade personalized wedding hanger! 


After it was dry, I came back to inspect my handiwork, as I looked at it, all I could see was everything that was wrong with it, and a billion imperfections with the letters, so I thought about not giving it to the bride since it was surprise anyway, she wouldn't miss it because she wasn't expecting it.


But in the end I  decided to just add it to another gift I had for her, I felt the worst that could happen was she wouldn't use it, no harm there. However when she unwrapped it, her face lit up, she loved it and thought I had ordered it on etsy, she didn't believe me at first when I told her I made it. She immediately offered to send me the photos of her wedding dress on the hanger once her wedding day rolls around!  A mutual friend who saw the hanger when I gave it to her immediately wanted one and ordered one as a Christmas gift for a family member so the very next week I had to make another one! 


My second "Kelly" hanger right before I trimmed the wire and attached it to the hanger

I can definitely say the second one was actually more nerve wracking because this was my first real "sale" and I didn't want to disappoint her. Since then a few others who saw the first two hangers have requested a personalized hanger hanger of their own so I guess you could say I'm in the hanger business now? How exciting!!

xoxo


November 27, 2013

DIY bridesmaid hair sticks


I have vowed to post about all my wedding DIYs but as you can tell its taking me longer than I thought, but I will get there, eventually...

Deciding on hair accessories for my bridesmaids was a bit tricky, I knew for a fact I didn't want anything floral. I've said it before, it's not that I hate flowers but I just wanted to minimize the floral elements in my wedding as much as possible. I just wanted to move away from the misconception that a wedding needs overdoses of flowers to survive. I knew I wanted my bridesmaids to have their hair up, because there is just something so elegant and sophisticated about an updo. With that in mind I decided the perfect hair accessory would be hair sticks. I've always loved hair sticks and loved customizing them as a teen. For some reason I used to think they originated from the Chinese culture, but realized later they have origins all across the world, from ancient Rome, Greece, Egypt and Japan. Another reason I was attracted to hair sticks is because they are so versatile, they can be worn in many different ways, unlike the standard hair clip worn by bridesmaids which is usually always worn behind the ear.


Originally I thought I would order a set of delicate crystal embellished hair sticks for my bridesmaids, but when I searched online everything I found was either too plain or way to glittery for my liking. I've always been a simple girl, and I'm attracted to minimalist designs that have a quiet elegance. I was on the verge of just crossing the hair sticks off my list, when I came across an old pair of my own hair sticks that I had customized with ribbon several years ago. It reminded me that I could just make my own crystal hair sticks for my bridesmaids. Coincidentally at the same time I had come across a lot of blog posts that featured brides "blinging out" their wedding shoes with flat back crystals. That's when it hit me, I could use the same flat back crystals for my hair sticks! All I needed was to buy plain hair sticks and then I could embellish them myself. I already knew that Sally's stocked two-tone hair sticks by DCNL and since these hair sticks have flat sides like a square I knew they would be perfect for my project!


A flat back crystal is basically what the same suggests, a crystal with a flat back so it can easily be glued to a flat surface. They are available in many different shapes, sizes, colors and styles.Some of them are heat set crystals so you need a heat tool to activate the adhesive. I decided to start out with the professional pack by Crystazzi This pack has clear colorless crystals in multiple sizes so I could experiment with them. I also knew I would need more then one size since the hair sticks get narrow towards the tip.


Next I had to decide on the type of glue to use. All the information I saw online seemed to recommend E6000 glue as being the strongest and best glue for this kind of project. However when I actually picked up a pack of it at Michael's I was turned off by all the warnings on it. It is a really strong glue and gives off toxic vapors that can be harmful especially if used in a room with poor ventilation. Since I did all my wedding DIY projects in a tiny room with not so great ventilation, I just didn't feel right using this glue. I decided to make my life even harder by using my hot glue gun for this project.


The hot glue gun makes it ten times trickier for several reasons. Firstly the hot glue cools down extremely fast so its virtually impossible to position the tiny crystal perfectly on the hair stick before the glue dries.  In fact its impossible to even get the hot glue on the back of the crystal without the glue getting extremely messy, especially if you have a  large glue gun like mine. A mini glue gun would probably have been much better. I also tried putting the glue directly on the hair stick, but if you have worked with a large glue gun and a slippery surface such as these hair sticks,  you know how stringy, messy and difficult it can be for projects that require precision.  Needless to say it was a tough project. Just handling the crystals was difficult, I had to get out my tweezers because they were very hard to pick up with my fingers and I only had nanoseconds to pick up a crystal and position it in the hot glue before the glue cooled down and dried. 


It was a slow and tedious DIY task and I burnt my fingers more times than I care to remember, but I loved the challenge, and it was exciting seeing my vision come to life. After I completed the first pair I was really happy with how it turned out and I knew there was no going back. They sparkled in the light, but weren't too loud or too overdone.  In all, I  made a total of 10 individual sticks (5 pairs) but by the time I was done I felt as though I had done a thousand.

There were definitely moments when I wanted to just give up on this project because the amount of time it took just didn't seem worth it, but I'm glad I pushed through it. The look on my bridesmaids faces when I gave it to them the night before the wedding was worth it. They kept asking if they could really keep the hair sticks after the wedding and refused to believe I made them myself. I forgot to take pictures of the finished product so I recently sent a text to one of my bridesmaids to ask if she still had the hair sticks and if she could send me a photo for this blog post. Within minutes she sent me the awesome photos below! Its been 2.5 years and she knew exactly where they were and they seem to be holding up pretty great except a few missing crystals. Bridesmaid of the year? I think so!


August 7, 2013

DIY wedding memory box

After spending countless hours on tons of DIY projects, all the elements of my wedding were so dear to my heart, so I knew without a doubt that I had to somehow preserve those wonderful memories. I had seen awesome ideas for shadow boxes and display cases that showcase the preserved bouquet as well as other elements from the wedding in a beautiful way. I decided to create my own memory box in honor of all the highlights of our special day. Initially I considered using a shadow box like the ones shown below.


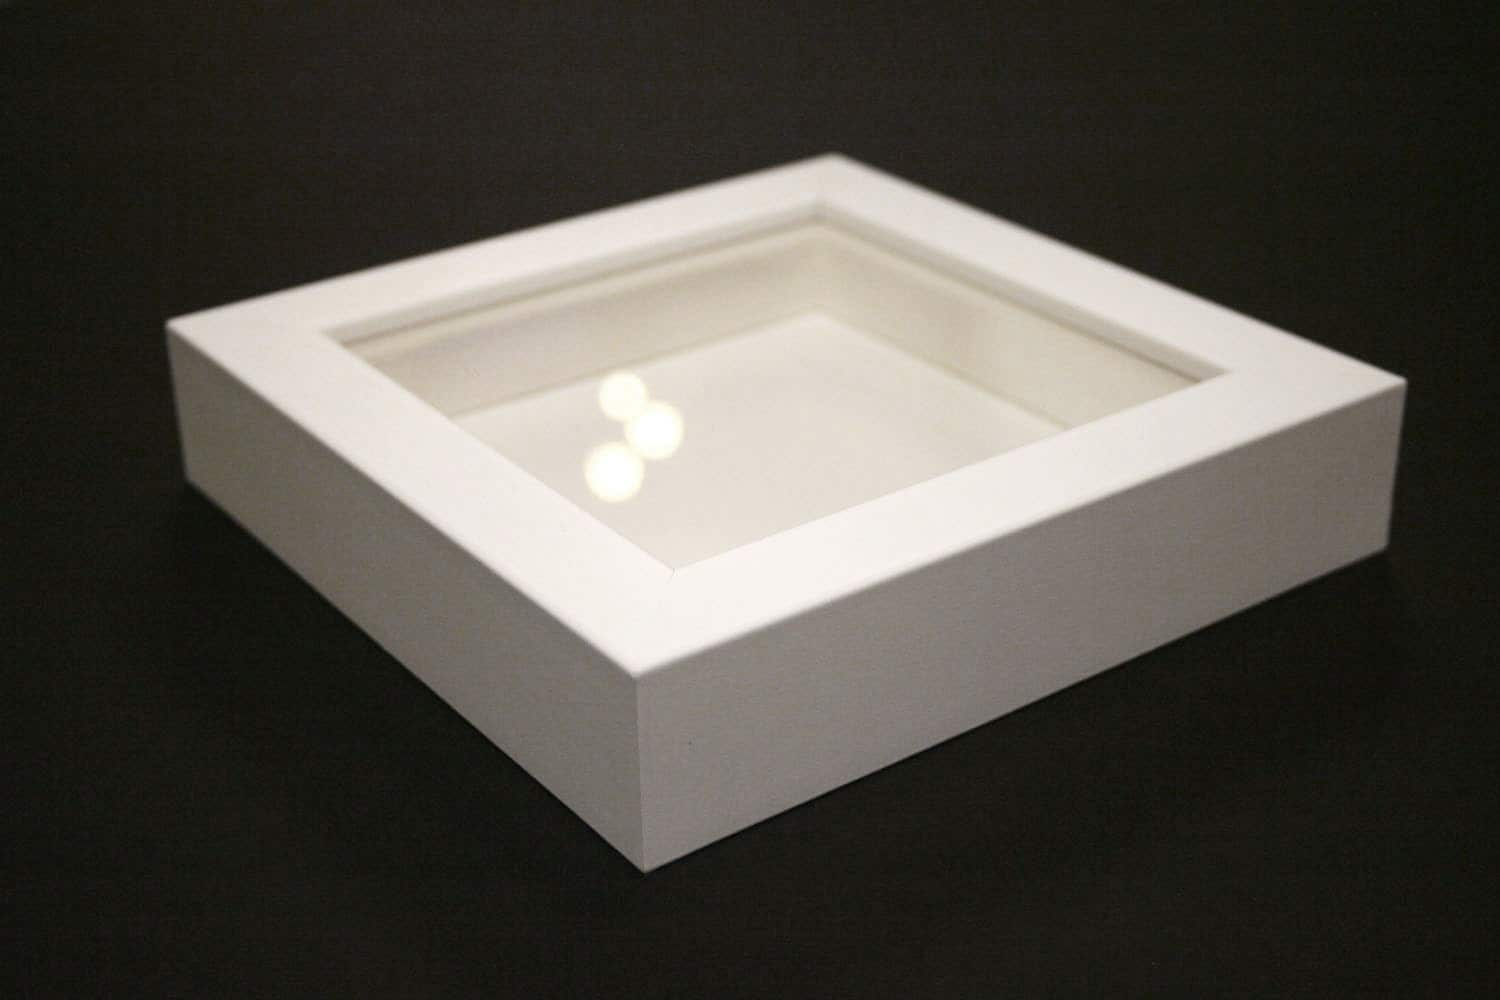
However after checking out all the options at the Michael's store I decided to go with a glass display box instead.They come in all shapes and sizes and the rectangular boxes with wooden trim appealed to me the most

The main difference between the two is that the items inside a shadow box can only be viewed from the front, but the glass display case allows you to see inside it from the top, front and sides. Basically the shadow box is like a 3D picture frame that can be hung up on the wall, and the display case is well, a display case! The back wall of the display box that I bought from Michael's has a mirror which reflects the light unto the items in the box.

Creating a memory box is all about experimenting with object placement until all the items look effortlessly placed. It is important to strike the right balance between  making sure it doesn't look too cluttered or too bare, and that everything isn’t too close together or too far apart.  Even though I had boxes full of left over scraps from my DIY projects I decided to only use a few items that I felt best represented our wedding

The most important element I wanted to showcase was my bouquet. I made it myself and it has had sentimental value to me right from the beginning.  The bouquet was the main attraction in the display case since it is the biggest piece. For this reason I spent the most time deciding on the perfect placement for the bouquet.
.
I also decided to put all three of my veils into my memory box. Yes that's right I had three veils. This is because I wore a metallic edge tulle cathedral veil for the ceremony and a tulle blusher as well. Then I changed into a bird cage veil for the reception. I was especially pleased with bird cage veil as it was originally just a plain Russian tulle veil and I customized it by adding the jeweled flower myself

My three veils all from David's Bridal

I draped the tulle blusher veil over the floor of the display case, to form the base for my memory box. Then I folded the cathedral veil to form a cushion for my bouquet. While we are the subject of bouquets I will just mention that I made my own bouquet from real touch artificial flowers so it was easy for me to save them myself. If you use real fresh cut flowers for your bouquet, you can still save the bouquet but you need to have  it  freeze dried by a professional. Once I was happy with the angle and positioning of the bouquet, all the other smaller pieces easily fell into place.  I added a couple of the wedding programs that were rolled into scrolls, one of the DIY paper fans, a wedding invitation, my crystal head band and one of the pillow boxes we used for the favors.

The photo of the finished product is below


Overall I am really glad I took the time to create this display box because it has now become a time capsule with some of the key elements from our wedding frozen in time forever.


December 20, 2012

Much ado about engagement rings


Like any other girl I can appreciate the beauty of a nice engagement ring although they are not really my style, which is why by popular request I started the rings & rocks series to shed some light on the process of choosing a ring. However I'll start by saying I personally do not wear an engagement ring.  That's right. I love all things wedding related except engagement rings.  I guess you could call me the scrooge of engagement rings?
 I'll tell you why. 
Firstly aside from my wedding band, I don't wear any jewelry; no ear rings, bracelets, necklaces or rings.  I've never been that girly girl that has to desire to be sparkly at all times so engagement rings never appealed to me in that sense.  Secondly engagement rings seem a tad outdated to me and  if I must be 100% percent honest I don't really understand the point of them. 

-From my understanding, engagement rings symbolize the fact that you are betrothed; promised in marriage to another, so then why do we continue to wear them once the wedding is over and we are officially married.  If they symbolize engagement then maybe we should only wear them during the engagement period?
- I do understand that they hold sentimental value and that's why people wear them for a lifetime in combination with their wedding band,  but why are they more expensive, more valuable and more of a big deal than the wedding band? To the extent that people actually spend all their savings or go into debt for the perfect engagement ring, but spend only a fraction of that amount on the wedding band. Is the promise to marry, more important than the marriage vow itself?
-In my traditional West African culture, both rings are really only meant be worn after they have been presented to the bride on the day of the traditional marriage ceremony, at which point since you are already married, what is the purpose of the engagement ring?

All in all I like a nice classy ring, but I'm not convinced that engagement rings are worth all the time, money and worry that goes into them...

And while we are on the topic of engagement rings, I can't help but comment on the newest celebrity engagement ring: Kelly Clarkson. I love her voice and style of singing and even had one of her songs in my wedding, but I have no words for her engagement ring!  She managed to combine all the features I like the least.  I guess she wanted to be original with the colored stone but the combination of the halo, size, color cut and band, is just way too much going on.  Sorry Kelly but my eyes are offended.. Congrats all the same :)


September 27, 2012

Is it time for the gloves to come off?


Are bridal gloves outdated? Such a loaded question that I  get asked all the time.  I would say yes and no. There are certain types of gloves that still look stylish and chic even though they have that vintage air about them, and then there are others that need to stay put in the 1990s and never show their faces again.  Below is a breakdown of the different types of bridal gloves

[1]The gloves I like the least


These two photos show the type of bridal gloves that are most commonly sold in bridal salons. There is nothing wrong with these gloves per se, except that they aren't the most flattering options available and here is why
  •  In my opinion full fingered gloves belong outdoors in Fall and Winter.  We aren't in the Victorian era and it's never practical to wear full fingered gloves in doors especially not in satin or stretch fabrics. Full fingered gloves also take away focus from the rings, engagement and wedding rings usually look so much better on a bare finger than worn over a glove.
  • Fingerless gloves with the loop for the middle finger like the one shown above, rarely fit properly. They always end up sagging, ruching, and constantly needing to be adjusted. They are also often made out of the cheapest fabrics and really lower the overall look of the bride. In addition they usually feature lace cut outs or lace trims, that have very dated patterns and exaggerated designs that look more like prom queen than bridal.
[2] The gloves I like the most 
The stunning crystal encrusted cuffs by Ines Di Santo shown below just blow me away. They are a hybrid between a bracelet and a fingerless glove, and they are just fabulous. I have been crushing on these gloves for going on 3 years now and they still have not lost their appeal.  


Aren't they dreamy? Yes I thought so too and actually planned to buy a pair for my wedding. I called them up to order a pair and was told they start at around $500. That was my wake up call! $500 for a pair of cuffs? No thank you. Okay I understand that the crystal embellishments are expensive, but that is still way too much for a humble bridal writer like myself to spend on just an accessory! There are wedding gowns that cost less than that!
Regardless of the price, this style of glove is currently my favorite for a wedding. The sheer fabric gives it a "barely there" feel so it compliments the gown in a subtle way rather than loudly clashing with it. It also leaves your fingers bare for easy access to the rings.


[3]The gloves I like a little bit 


Vintage looking gloves made out of delicate lace or crochet have the potential to look sweet and endearing and can add a romantic air to the outfit. I'm not in love these but I do like them depending on the style of dress and the theme of the wedding. The third picture with the delicate buttons on the inside of the wrist are my favorite in this category.


xoxo
  

July 27, 2011

Drool worthy wedding shoes : Stuart Weitzman


Stuart Weitzman claims that he designs shoes to "make women happy", all I can say in response to that is MISSION ACCOMPLISHED.  Dear Stuart your shoes do make me very happy indeed.. well except for one tiny detail ;the price tag!!! I mean $350 for a pair of shoes is a bit much for a humble bridal writer like myself, especially considering that fact that some brides spend less than than on their wedding dress! 

However this excerpt from my article almost tips the scale in his favor


 "His stunning range of shoes are a constant favorite of celebrities for their live performances. We all know how rigorous Beyonce’s dance routines can be, and she has repeatedly shown up on stage at concerts and live events sporting the latest stilettos from Stuart’s collection, she even wears them when she travels through the airport! Many other celebrities like Jennifer Lopez, Rhianna and Carrie Underwood have also chosen to perform in Stuart’s shoes. The fact that his shoes can endure nights of on-stage dancing speaks a lot about the level of quality and comfort!... Continue reading on Examiner.com The great shoe hunt! Stuart Weitzman wedding shoes - ]

...but a true fashionista knows how to hunt down great deals at discounted rates! Websites like Myglassslipper, Zappos and Endless often have a good selection of his shoes on sale."   [

The sexy shoes in his collection speak for themselves...


Stay stylish
xoxo