November 27, 2013

DIY bridesmaid hair sticks


I have vowed to post about all my wedding DIYs but as you can tell its taking me longer than I thought, but I will get there, eventually...

Deciding on hair accessories for my bridesmaids was a bit tricky, I knew for a fact I didn't want anything floral. I've said it before, it's not that I hate flowers but I just wanted to minimize the floral elements in my wedding as much as possible. I just wanted to move away from the misconception that a wedding needs overdoses of flowers to survive. I knew I wanted my bridesmaids to have their hair up, because there is just something so elegant and sophisticated about an updo. With that in mind I decided the perfect hair accessory would be hair sticks. I've always loved hair sticks and loved customizing them as a teen. For some reason I used to think they originated from the Chinese culture, but realized later they have origins all across the world, from ancient Rome, Greece, Egypt and Japan. Another reason I was attracted to hair sticks is because they are so versatile, they can be worn in many different ways, unlike the standard hair clip worn by bridesmaids which is usually always worn behind the ear.


Originally I thought I would order a set of delicate crystal embellished hair sticks for my bridesmaids, but when I searched online everything I found was either too plain or way to glittery for my liking. I've always been a simple girl, and I'm attracted to minimalist designs that have a quiet elegance. I was on the verge of just crossing the hair sticks off my list, when I came across an old pair of my own hair sticks that I had customized with ribbon several years ago. It reminded me that I could just make my own crystal hair sticks for my bridesmaids. Coincidentally at the same time I had come across a lot of blog posts that featured brides "blinging out" their wedding shoes with flat back crystals. That's when it hit me, I could use the same flat back crystals for my hair sticks! All I needed was to buy plain hair sticks and then I could embellish them myself. I already knew that Sally's stocked two-tone hair sticks by DCNL and since these hair sticks have flat sides like a square I knew they would be perfect for my project!


A flat back crystal is basically what the same suggests, a crystal with a flat back so it can easily be glued to a flat surface. They are available in many different shapes, sizes, colors and styles.Some of them are heat set crystals so you need a heat tool to activate the adhesive. I decided to start out with the professional pack by Crystazzi This pack has clear colorless crystals in multiple sizes so I could experiment with them. I also knew I would need more then one size since the hair sticks get narrow towards the tip.


Next I had to decide on the type of glue to use. All the information I saw online seemed to recommend E6000 glue as being the strongest and best glue for this kind of project. However when I actually picked up a pack of it at Michael's I was turned off by all the warnings on it. It is a really strong glue and gives off toxic vapors that can be harmful especially if used in a room with poor ventilation. Since I did all my wedding DIY projects in a tiny room with not so great ventilation, I just didn't feel right using this glue. I decided to make my life even harder by using my hot glue gun for this project.


The hot glue gun makes it ten times trickier for several reasons. Firstly the hot glue cools down extremely fast so its virtually impossible to position the tiny crystal perfectly on the hair stick before the glue dries.  In fact its impossible to even get the hot glue on the back of the crystal without the glue getting extremely messy, especially if you have a  large glue gun like mine. A mini glue gun would probably have been much better. I also tried putting the glue directly on the hair stick, but if you have worked with a large glue gun and a slippery surface such as these hair sticks,  you know how stringy, messy and difficult it can be for projects that require precision.  Needless to say it was a tough project. Just handling the crystals was difficult, I had to get out my tweezers because they were very hard to pick up with my fingers and I only had nanoseconds to pick up a crystal and position it in the hot glue before the glue cooled down and dried. 


It was a slow and tedious DIY task and I burnt my fingers more times than I care to remember, but I loved the challenge, and it was exciting seeing my vision come to life. After I completed the first pair I was really happy with how it turned out and I knew there was no going back. They sparkled in the light, but weren't too loud or too overdone.  In all, I  made a total of 10 individual sticks (5 pairs) but by the time I was done I felt as though I had done a thousand.

There were definitely moments when I wanted to just give up on this project because the amount of time it took just didn't seem worth it, but I'm glad I pushed through it. The look on my bridesmaids faces when I gave it to them the night before the wedding was worth it. They kept asking if they could really keep the hair sticks after the wedding and refused to believe I made them myself. I forgot to take pictures of the finished product so I recently sent a text to one of my bridesmaids to ask if she still had the hair sticks and if she could send me a photo for this blog post. Within minutes she sent me the awesome photos below! Its been 2.5 years and she knew exactly where they were and they seem to be holding up pretty great except a few missing crystals. Bridesmaid of the year? I think so!



August 7, 2013

DIY wedding memory box

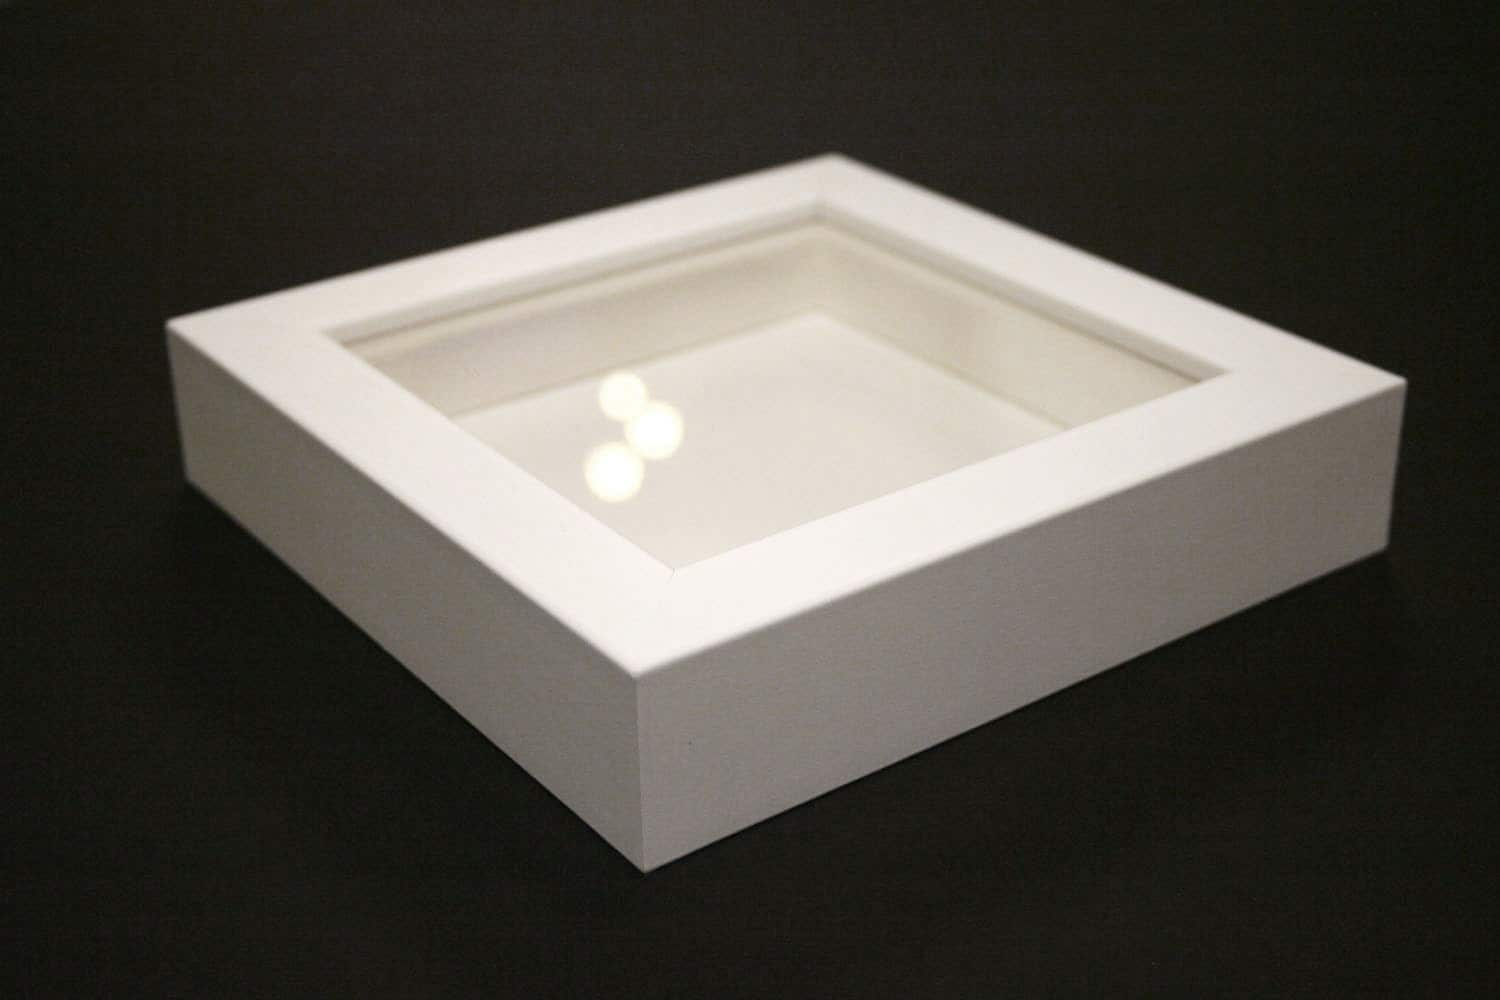
After spending countless hours on tons of DIY projects, all the elements of my wedding were so dear to my heart, so I knew without a doubt that I had to somehow preserve those wonderful memories. I had seen awesome ideas for shadow boxes and display cases that showcase the preserved bouquet as well as other elements from the wedding in a beautiful way. I decided to create my own memory box in honor of all the highlights of our special day. Initially I considered using a shadow box like the ones shown below.


However after checking out all the options at the Michael's store I decided to go with a glass display box instead.They come in all shapes and sizes and the rectangular boxes with wooden trim appealed to me the most

The main difference between the two is that the items inside a shadow box can only be viewed from the front, but the glass display case allows you to see inside it from the top, front and sides. Basically the shadow box is like a 3D picture frame that can be hung up on the wall, and the display case is well, a display case! The back wall of the display box that I bought from Michael's has a mirror which reflects the light unto the items in the box.

Creating a memory box is all about experimenting with object placement until all the items look effortlessly placed. It is important to strike the right balance between  making sure it doesn't look too cluttered or too bare, and that everything isn’t too close together or too far apart.  Even though I had boxes full of left over scraps from my DIY projects I decided to only use a few items that I felt best represented our wedding

The most important element I wanted to showcase was my bouquet. I made it myself and it has had sentimental value to me right from the beginning.  The bouquet was the main attraction in the display case since it is the biggest piece. For this reason I spent the most time deciding on the perfect placement for the bouquet.
.
I also decided to put all three of my veils into my memory box. Yes that's right I had three veils. This is because I wore a metallic edge tulle cathedral veil for the ceremony and a tulle blusher as well. Then I changed into a bird cage veil for the reception. I was especially pleased with bird cage veil as it was originally just a plain Russian tulle veil and I customized it by adding the jeweled flower myself

My three veils all from David's Bridal

I draped the tulle blusher veil over the floor of the display case, to form the base for my memory box. Then I folded the cathedral veil to form a cushion for my bouquet. While we are the subject of bouquets I will just mention that I made my own bouquet from real touch artificial flowers so it was easy for me to save them myself. If you use real fresh cut flowers for your bouquet, you can still save the bouquet but you need to have  it  freeze dried by a professional. Once I was happy with the angle and positioning of the bouquet, all the other smaller pieces easily fell into place.  I added a couple of the wedding programs that were rolled into scrolls, one of the DIY paper fans, a wedding invitation, my crystal head band and one of the pillow boxes we used for the favors.

The photo of the finished product is below


Overall I am really glad I took the time to create this display box because it has now become a time capsule with some of the key elements from our wedding frozen in time forever.


March 15, 2013

DIY wedding invitations: Envelope liners

My wedding invitations were partially DIY;  I didn't want to do a entire DIY project from scratch but I definitely wanted to add a lot of customizations to make it as unique as I could with the amount of free time I had available to me.  The complete invitation suite did involve a lot of mini projects and the first of them was the envelope liners.

I ordered my invitations online and they did have the option of ordering envelopes that were already lined with colored paper.   I could have just bought envelopes that were already lined but the styles I liked were way too expensive and the styles that were within my budget were a bit too generic for my liking. Envelope liners are not really a big deal and most guests might not really notice them, but I think they totally change the look of the invitations. For one thing they make the envelope look thicker and feel better quality than clear white envelopes and they just add a little something to the overall inviation suite.  Since my invitations included free white envelopes I decided to attempt to make my own envelope liners. This would save me money and also allow me to choose a liner that fit in better with my vision.


I had seen a roll of wedding gift wrap at my local walgreens in ivory and gold that was just perfect for me. It had cursive font and a repeat print of love sayings.  Exactly what I was looking for.

I bought a couple of rolls of it and brought it home.  Then I measure the inside of the plain envelope to get an idea of what size paper I needed to line the envelope. After much trial and error, I figured it out. Once I had the perfect size of paper, I cut out a template in heavy cardstock and used that as a stencil on the gift wrap.


It was a bit slow and tedious because I have a tiny Fiskars paper trimmer that only cuts about 10 sheets of paper at a time,  but over the course of many days I traced out and cut about 100 liners in printed and plain paper.


Then once I was done cutting, I had to glue the liners into the envelopes. I used the scotch mini glue dot roller which is just awesome. It is probably the best mess-free method of gluing light weight paper.


And this is what the finished product looked like!


January 11, 2013

DIY Project: Cake stand

Deciding on a cake stand was tricky because I wasn't really in love with any of the options that were readily available. It seemed like I only had two main choices; either a flat plateau stand or a tiered stand. Neither of these really appealed to me. I definitely did not want a tiered stand or the 1980s tower cake look with gaps in between the tiers, so it seemed like I had no other option but to get a flat plateau stand like the popular embossed silver stands used at most weddings these days.While I did like these stands, I wasn't in love with them, and I didn't feel that they really fit in with the rest of my wedding decor. So I was quite pleased when I discovered other brides were making their own cake stands out of wood. I decided to follow their guides and attempt to do it too!


Firstly I bought an 18 inch round wooden panel from Lowe's, that was already smooth and factory sanded.
 
Then I bought a 12 inch wooden candle holder from Target. It took me several attempts to get this right because many of the candle holders were slightly uneven and I only noticed when I got home that the wooden panel wouldn't sit flush on the candle stand because it wasn't level. I probably should have just carried a level tool with me to the store to be sure the candle holders were straight before purchasing them. Instead of repeatedly buying them, and returning them. Everything is always so much clearer in hindsight!


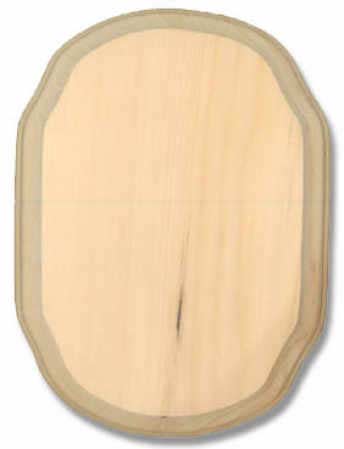
Then my fiance attached the candle holder to the center of the round wooden panel. Once this was done I realized it was a bit wobbly because the round wooden panel was too heavy for such a tall  candle holder. On all  the other blogs I had seen these, the brides always used a very short candle holder but I wanted a tall cake stand so I could place our initial letters in front of it without obstructing view of the cake. I decided to make a trip to Michael's to buy a small wooden plaque to attach to the base of the candle holder in an attempt to better balance out the weight of the stand. I wasn't really sure if it would work or not but it did!


Once the plaque was attached to the bottom of the candle holder,  the cake stand was now steady and balanced.  It was now time to paint it!  I wanted to go for something really neutral and plain to keep things simple, so I decided to paint it a soft ivory color. I opted to use spray paint since it is so much easier to get the hang of than using a paint brush, and there is not need to worry about brush strokes or streaks. I was also pretty much a spray painting pro by this point after spraying all the wooden letter centerpieces.  I wanted a smooth sleek finish so I chose to go with a gloss finish  Painters Touch spray paint from Home Depot.


It took about three coats of paint to get a smooth uniform look for the entire cake stand. After each coat of paint I allowed the stand to dry thoroughly for a few days before adding the next layer of paint. In no time  I had my very own, one of a kind ivory cake stand! The pictures below show the cake stand in action at the wedding reception hall.


I was very pleased with how it turned out. It was truly simple and chic, stylish yet understated, unique without being overdone.  Several people asked where I bought it from and refused to believe that my husband and I made it ourselves. I take that as a compliment!!


January 4, 2013

Melissa Sweet collection at David's bridal


It's hard not to like David's bridal... despite their horrendous customer service at certain locations, the giant chain store still manages to keep up with the ever evolving world of bridal fashion. They deliver what brides want; stylish gowns and accessories by renowned designers at an affordable price. Their most recent collaboration is with bridal fashion designer Melissa Sweet, whose gowns were once marketed under the prestigious Priscilla of Boston line.
 
Like many other 2013 collections, the recurring theme in her first collection at David's bridal is lots and lots of lace. All but two of the gowns are covered in lace, and all three veils feature a lace trim. These new gowns really do live up to the Melissa Sweet name and are much more breathtaking in person than in the photos online. It is definitely worth taking a trip to your local David's bridal for a chance to try on the dresses and be blown away by them!