
After spending countless hours on tons of DIY projects, all
the elements of my wedding were so dear to my heart, so I knew without a doubt that I had to somehow
preserve those wonderful memories. I had seen awesome ideas for shadow boxes and
display cases that showcase the preserved bouquet as well as other elements
from the wedding in a beautiful way. I decided to create my own memory box in honor of all the highlights of our special day. Initially I considered using a shadow box like the
ones shown below.
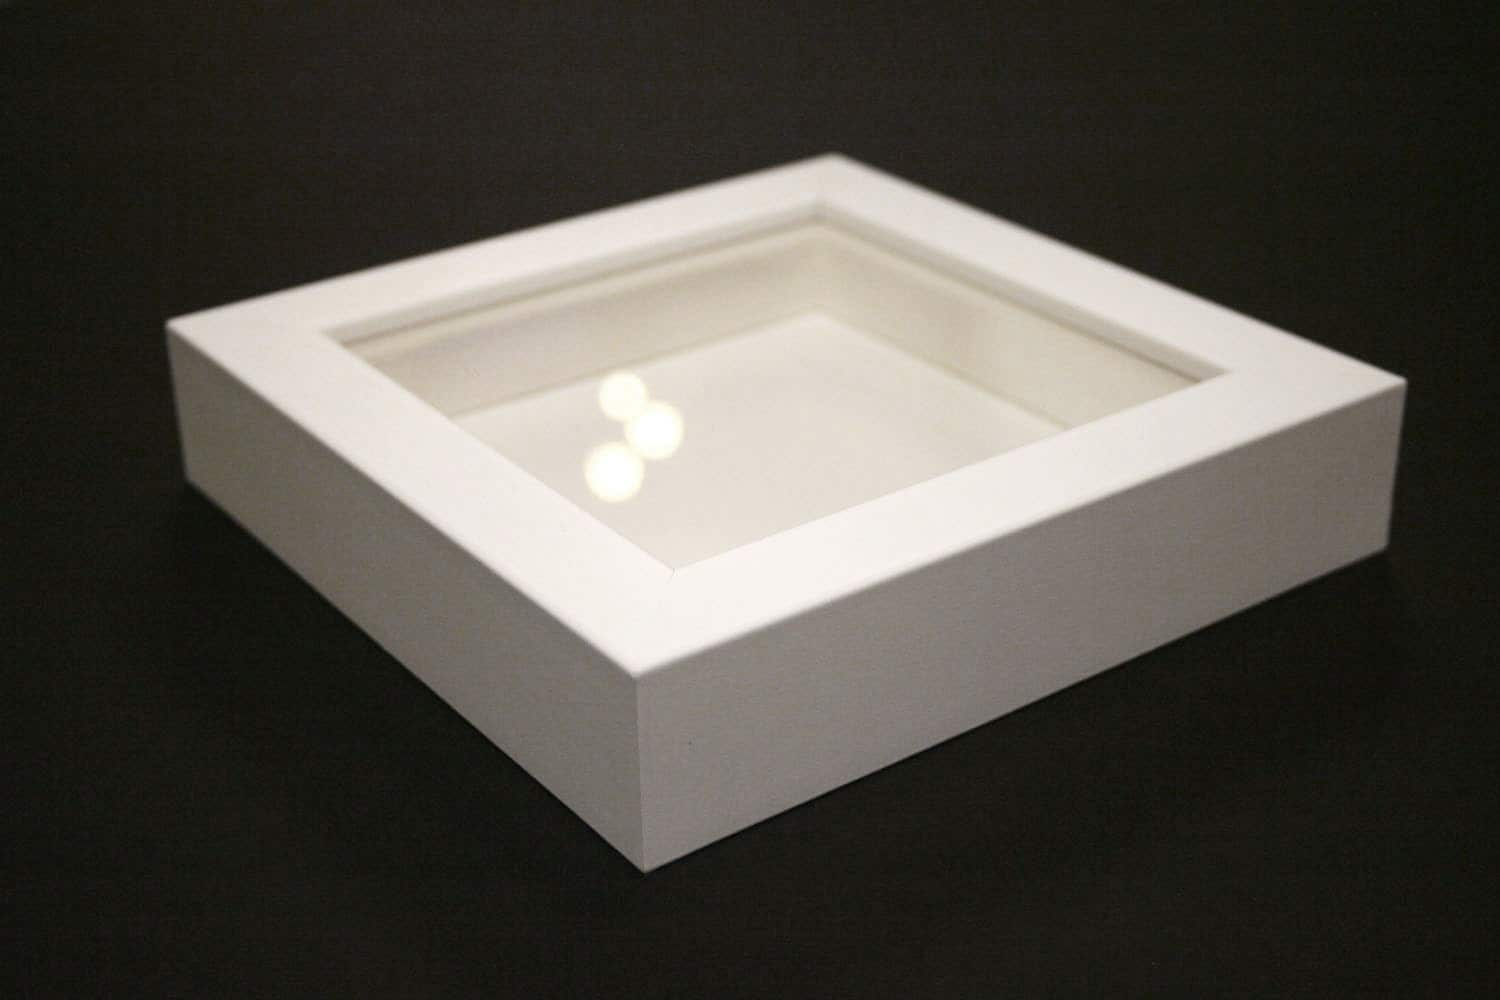
However after checking out all the options at the Michael's store I decided to go with a glass display box instead.They come in all shapes and sizes and the rectangular boxes with wooden trim appealed to me the most
The main difference between the two is that the items inside a shadow box can only be viewed from the front, but the glass display case allows you to see inside it from the top, front and sides. Basically the shadow box is like a 3D picture frame that can be hung up on the wall, and the display case is well, a display case! The back wall of the display box that I bought from Michael's has a mirror which reflects the light unto the items in the box.
Creating a memory box is all about experimenting with object placement until all the items look effortlessly placed. It is important to strike the right balance between making sure it doesn't look too cluttered or too bare, and that everything isn’t too close together or too far apart. Even though I had boxes full of left over scraps from my DIY projects I decided to only use a few items that I felt best represented our wedding
The most important element I wanted to showcase was my bouquet. I made it myself and it has had sentimental value to me right from the beginning. The bouquet was the main attraction in the display case since it is the biggest piece. For this reason I spent the most time deciding on the perfect placement for the bouquet.
.
I also decided to put all three of my veils into my memory box. Yes that's right I had three veils. This is because I wore a metallic edge tulle cathedral veil for the ceremony and a tulle blusher as well. Then I changed into a bird cage veil for the reception. I was especially pleased with bird cage veil as it was originally just a plain Russian tulle veil and I customized it by adding the jeweled flower myself
I draped the tulle blusher veil over the floor of the display case, to form the base for my memory box. Then I folded the cathedral veil to form a cushion for my bouquet. While we are the subject of bouquets I will just mention that I made my own bouquet from real touch artificial flowers so it was easy for me to save them myself. If you use real fresh cut flowers for your bouquet, you can still save the bouquet but you need to have it freeze dried by a professional. Once I was happy with the angle and positioning of the bouquet, all the other smaller pieces easily fell into place. I added a couple of the wedding programs that were rolled into scrolls, one of the DIY paper fans, a wedding invitation, my crystal head band and one of the pillow boxes we used for the favors.
The photo of the finished product is below
.
 |
| My three veils all from David's Bridal |
I draped the tulle blusher veil over the floor of the display case, to form the base for my memory box. Then I folded the cathedral veil to form a cushion for my bouquet. While we are the subject of bouquets I will just mention that I made my own bouquet from real touch artificial flowers so it was easy for me to save them myself. If you use real fresh cut flowers for your bouquet, you can still save the bouquet but you need to have it freeze dried by a professional. Once I was happy with the angle and positioning of the bouquet, all the other smaller pieces easily fell into place. I added a couple of the wedding programs that were rolled into scrolls, one of the DIY paper fans, a wedding invitation, my crystal head band and one of the pillow boxes we used for the favors.
The photo of the finished product is below


Overall I am really glad I took the time to create this display box because it has now become a time capsule with some of the key elements from our wedding frozen in time forever.


