
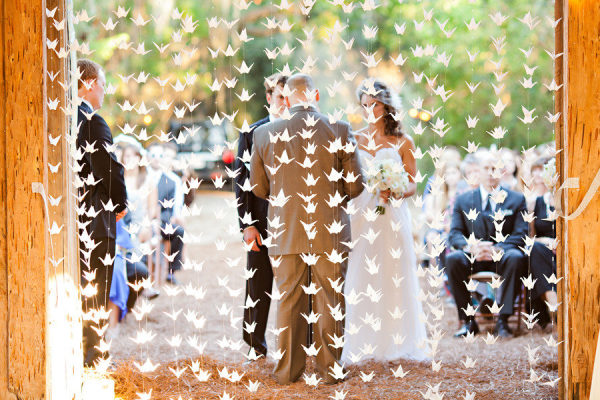
In the end I managed to fold a whopping 200 cranes, although it honestly felt more like 2 billion, but as with all DIY projects, patient diligence pays off! I planned to have the cranes hanging from several locations at the reception, but in the end decided to only use a few strings as a back drop for the head table hanging from a lit arch.
This is the tutorial of how I made my hanging cranes and a picture of the final result. Below my tutorial I attached other inspiration photos of hanging paper cranes.


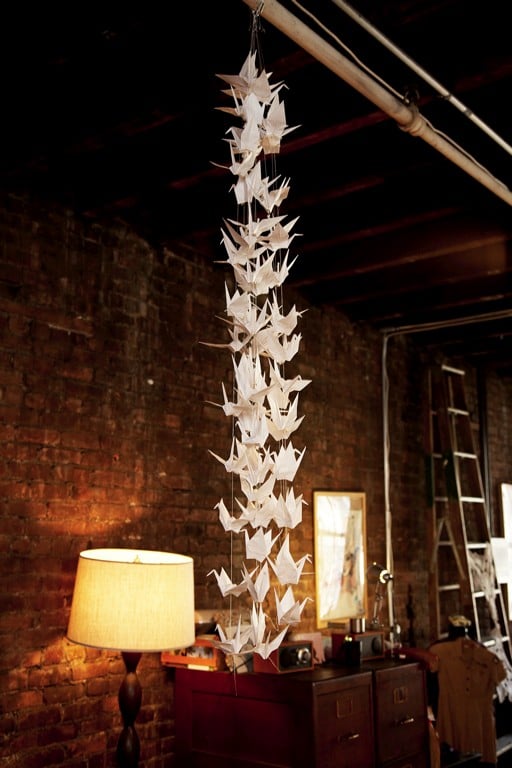
Picture 4

- Choose your paper. Although you can order special origami paper I went with regular card stock.
- Cut the paper down to size. Perfect squares of paper are needed for this project, but I didn't want to pay extra for that size, so I ordered colored paper in regular letter size (8.5" x 11") and used my fiskars paper cutter to cut it down to size. Tedious to say the least.
- Fold the paper into cranes, using a bone folder to get the crease lines perfect. If you don't know how to fold paper cranes, here is a great video that teaches how to fold them
- Cut a long length of fishing wire. The length depends on how high up you plan to hang the cranes. I used a 9 ft length of wire, just so I would have extra wire in case I needed it.
- Thread the fishing wire into a large eye beading needle
- Tie a knot at the very end of the wire
- Push the needle through the center of one bead as if you were making a string of beads
- Push the bead to the end of the wire and and secure it by passing the needle through the center of the bead once more. This bead forms the base of the string of cranes
- Push the needle through the center of one paper cane and pull the wire all the way until the crane is resting on the first bead from number 8 above.
- Thread another bead until it is resting directly on the crane ( If you look really closely at picture 4 above you will see a bead on the top of each crane, sorry for the bad lighting)
- Leave about an 2 or 3 inches of space on the wire and tie another knot
- Repeat steps 7 to 12 until you have as many cranes on the wire as y
- ou like.


xoxo


so labour intensive but so worth it. Yours was beautiful. It is so effective
ReplyDeleteThanx Marian. Yes very labor intensive!
ReplyDelete